Installing Linux Lite is straightforward, even if you have never installed Linux before. The whole process takes under 20 minutes, and under 10 minutes on an SSD.
This guide walks through every step: checking your computer, getting the ISO, making a bootable USB, trying the live session, running the installer, and finishing the first boot. Follow it in order, and you will have a working system at the end.
The same steps work on laptops and desktops. You can also try Linux Lite in VirtualBox first: create a virtual machine, attach the ISO, and install inside the window before you touch your real disk.
Before You Start
Check your computer
Linux Lite needs a 1.5 GHz dual-core processor, 4 GB of RAM, 40 GB of storage, and a display of 1366 x 768 or better. It is 64-bit only, and there is no official ARM version. A machine with 2 GB of RAM can run it in a pinch, but 4 GB is what makes multitasking comfortable.
These figures have not changed since Series 8: they cover both 8.0 and 8.2.
If your computer is below that baseline, do not assume an old requirement list applies. The current figures reflect a fuller, more modern desktop. Machines with under 1 GB of RAM are not a good fit — lighter systems exist for those.
Back up your files
Back up your important files before you change anything on the disk. Installing an operating system can erase a drive, and a mistake on the disk screen can destroy data. Copy your documents, photos and anything else you cannot lose to an external drive or a cloud service first.
What you need
You need the Linux Lite ISO file (about 2.4 GB, from the official Linux Lite site), a USB stick of at least 4 GB, and the computer you want to install on. You also need to know how to open your computer's boot menu or firmware settings — the key is shown during startup, or in the device manual.
Step 1: Download the ISO and Verify It
Download Linux Lite from the official Linux Lite site. The official download page lists the current version, Linux Lite 8.2, and provides the ISO, a torrent option, and the SHA256 and MD5 checksums.
Use the SHA256 value published beside the ISO to check the file before writing it to a USB drive. A matching checksum confirms that the downloaded file matches the project's published digest. If it does not match, download the file again — do not install from a damaged file.
Step 2: Create a Bootable USB Drive
You need a USB drive with at least 4 GB of capacity. Writing an ISO erases the selected USB drive, so move any files you need off it first.
What you are making is a bootable USB drive: the ISO written onto the stick so the computer can start from it.
Open Etcher or Rufus and select the Linux Lite ISO. Select the USB drive only after checking its size and label — picking the wrong drive erases the wrong device. Start the write and wait for the tool to finish before removing the drive.
If you want a reusable multi-ISO drive instead, Ventoy lets you put several ISO files on one stick and pick one at boot. Verify its device-selection screen with the same care.
Step 3: Boot from the USB and Try the Live Session
Restart the computer with the USB drive attached, then open its one-time boot menu or firmware settings with the key shown during startup. Select the USB drive as the boot device.
The official download page says to disable Secure Boot before installation. Linux Lite does not support Secure Boot, and the installer will ask for it to be off. If firmware settings are unfamiliar, change this one setting first and leave the rest alone.
Start the live session before committing to an install. It lets you confirm that the display, keyboard, network, storage devices and basic input hardware are detected while the existing disk is unchanged. Browse the web, open an application, and check that Wi-Fi and sound work. If something does not work in the live session, it will not work after installing either — find out now, not later.
Step 4: Run the Installer
Click "Install Linux Lite" from the live desktop. The installer is Calamares, which walks you through language selection, timezone, keyboard layout, disk partitioning and user account creation. The left-hand sidebar shows every step upfront, so you always know how far along you are.
Language and keyboard
Choose your display language first, then your keyboard layout. These are safe early steps — nothing is written to the disk yet.
Choose the installation type
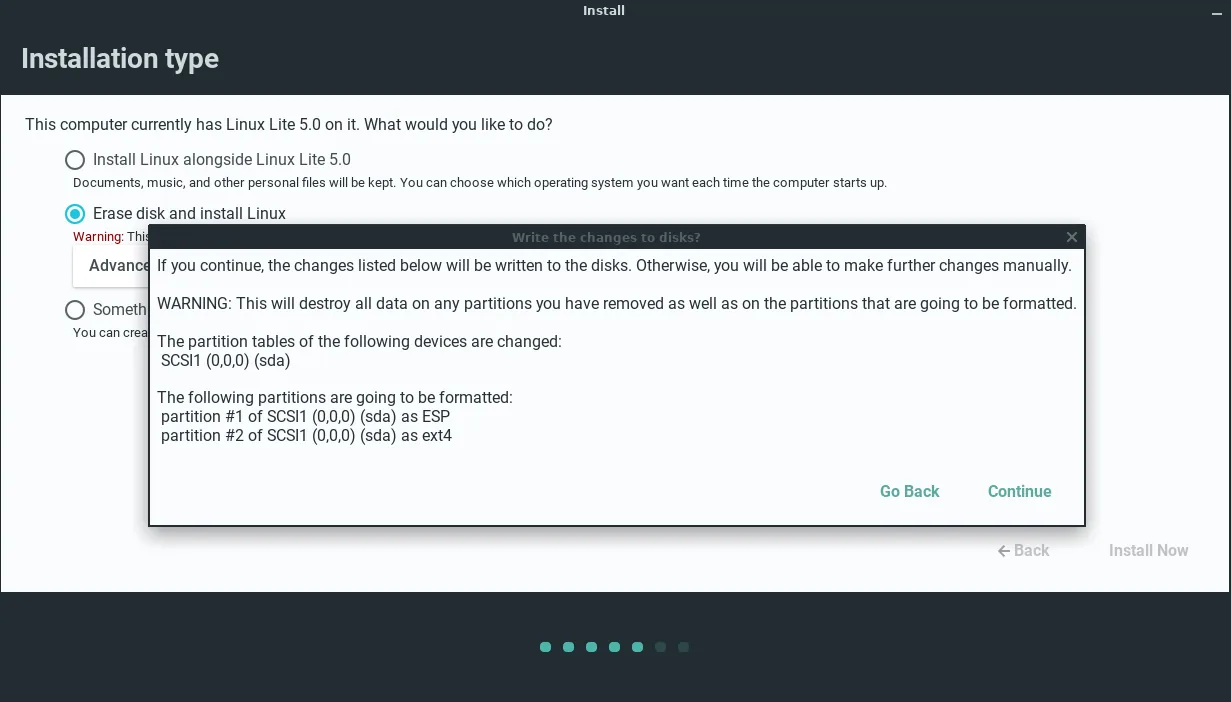
This is the step to read carefully. The installer can use a whole disk for a clean installation, while a dual-boot or separate-drive setup needs manual disk choices.
For a clean install, pick the option to erase the disk. The installer creates the partitions it needs. For a dual boot or a separate Linux drive, read the disk screen before selecting anything, then choose the specific target disk and mount points with a plan. For dual-boot with Windows, pick "alongside" — that option is covered in full in the USB and dual-boot guide.
Back up your files first, and stop if the device names on the disk screen do not match what you expected. The disk page can erase or resize storage, and there is no undo.
Software and driver options
Review the software and driver options before continuing. Use the installer's driver and codec choices only when they match your hardware and needs. The exact labels can vary with the Linux Lite release.
User account
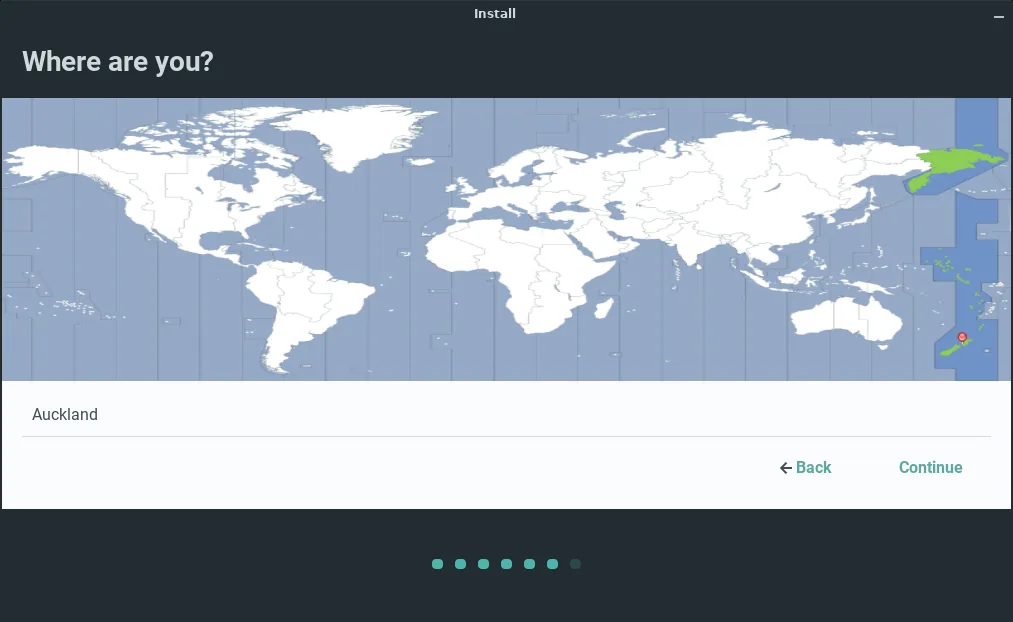
Set the timezone, user name and password when prompted, and choose whether to log in automatically. Pick a password you will remember — you need it for updates and for installing software.
Step 5: Finish the Installation and Reboot
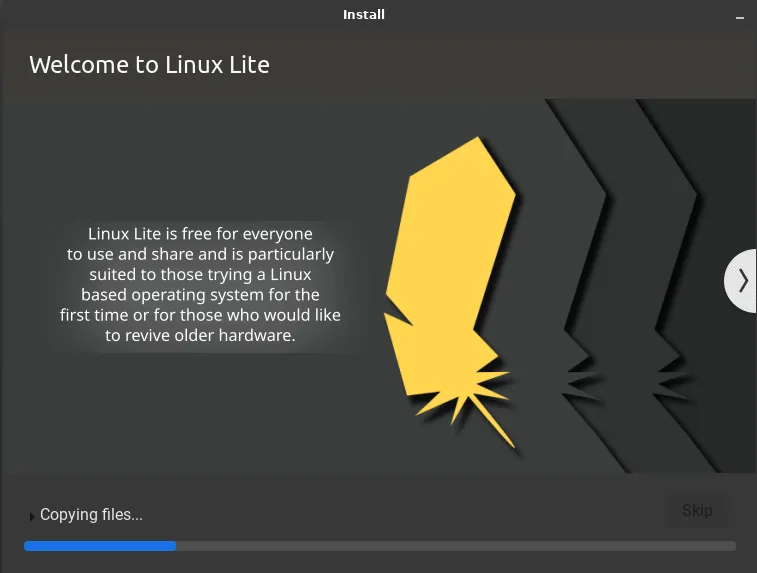
The installer copies the files, then reboots into your new system. Remove the USB drive when the system asks, so it starts the installed system instead of booting from the USB again.
The whole install usually takes under 20 minutes, and under 10 minutes on an SSD. If it takes much longer, something is wrong — usually a slow USB stick or a failing drive.
Step 6: First Boot — What to Do After Installing
When Linux Lite starts for the first time, the Lite Welcome app opens. This welcome screen is a guided checklist that walks you through the first steps: install updates and drivers, then set up the rest of the system. It is the first thing reviewers tend to praise.
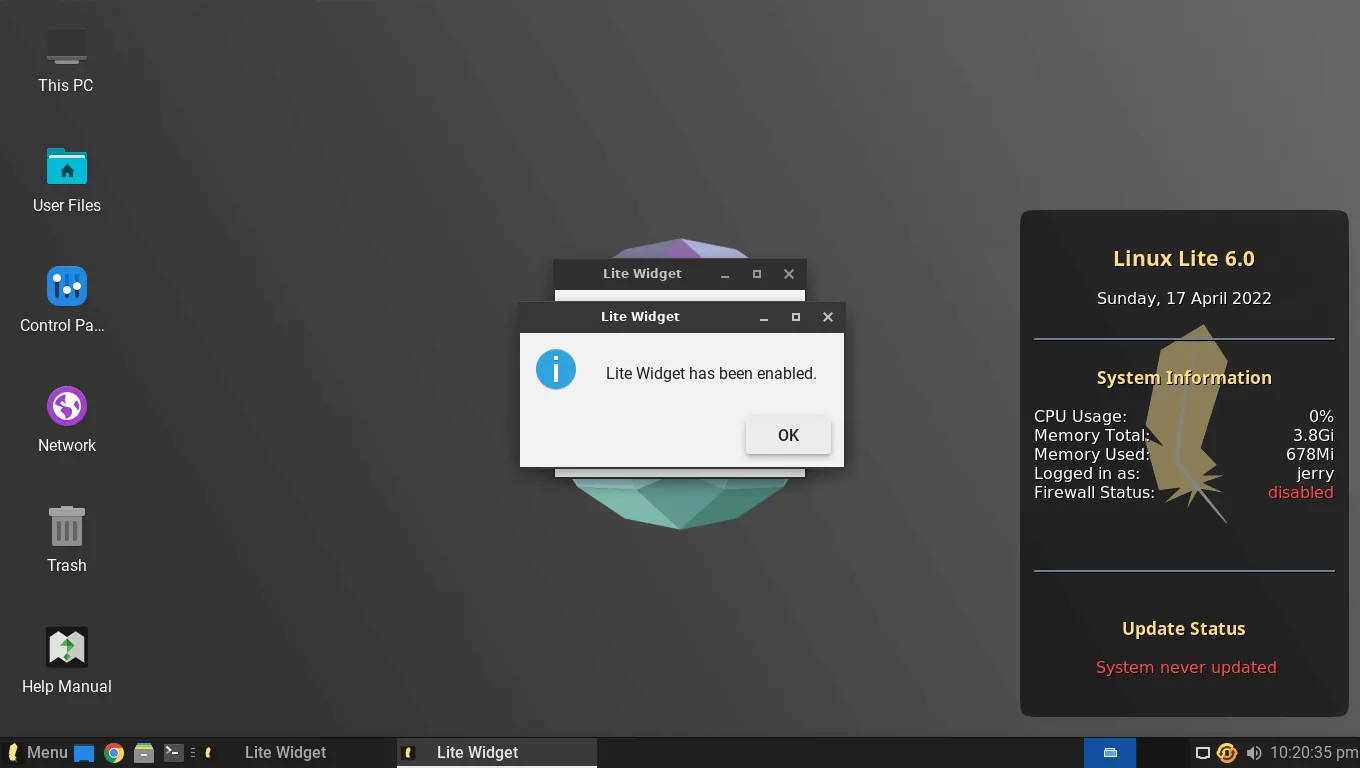
The desktop itself looks familiar from the start: a taskbar at the bottom, a start menu, a system tray and a clock. A Help Manual icon sits on the desktop and opens a local guide that covers every part of using Linux Lite.
After the desktop starts, apply updates and hardware-driver prompts that fit your computer. Open Lite Updates and install the available patches. Open Lite Driver Manager if you need a graphics driver. Then open Lite Software and install anything else you want.
One safety habit matters from day one: the built-in firewall is off by default. Switch it on in the settings. It takes a minute, and it is the one security step Linux Lite leaves to you.
Installation Checklist
Use this checklist before treating the installation as finished. Each item catches a different failure: wrong download, wrong target drive, firmware refusal, or an incomplete first boot.
- Your computer meets the current Linux Lite requirements.
- The ISO came from the official Linux Lite site and its SHA256 value matches the published value.
- You selected the correct USB drive before writing the boot media.
- Important files are backed up before you choose a disk option.
- The live session detects the hardware you need before the disk is changed.
- The installed system starts without the USB drive and can receive updates.
Troubleshooting
The computer will not boot from the USB.
Open the boot menu again and check the drive is listed. Try a different USB port — some old machines only boot from USB 2.0 ports. Recreate the USB stick if it still fails.
The installer says Secure Boot is enabled.
Restart, open the firmware settings, and disable Secure Boot. Linux Lite does not support it, and the installer will not continue until it is off.
The installer cannot see the hard drive.
On some machines the SATA mode in the firmware is set to RAID instead of AHCI. Switching it to AHCI usually makes the drive visible — but changing it can affect an existing Windows install, so look this up for your exact model first.
The screen goes black after booting.
Wait a minute — the live session can be slow to start on old graphics. If it stays black, reboot and try the safe graphics option from the boot menu, then install the right driver with Lite Driver Manager after installing.
Wi-Fi does not work in the live session.
Some Wi-Fi chips need a proprietary driver. Connect with an Ethernet cable if you can, install, then use Lite Driver Manager to install the Wi-Fi driver.
The install finished but the computer boots to Windows.
The boot order still points at Windows. Open the firmware settings and move the Linux Lite entry to the top of the boot order, or use the one-time boot menu to start Linux Lite.
FAQs
How long does it take to install Linux Lite?
Under 20 minutes in most cases, and under 10 minutes on an SSD. The live session and the download take longer than the install itself.
Will installing Linux Lite erase Windows?
Only if you choose the option to erase the disk. The "install alongside" option keeps Windows and adds Linux Lite next to it. Read the disk screen before choosing.
Can I install Linux Lite without a USB stick?
You need bootable media — a USB stick or a DVD. Most people use a USB stick of at least 4 GB with Rufus or Etcher.
Do I need to disable Secure Boot?
Yes. Linux Lite does not support Secure Boot. Disable it in your computer's firmware settings before installing.
What do I do after installing?
Follow Lite Welcome, run Lite Updates, install any drivers with Lite Driver Manager, switch on the firewall, and install the applications you want from Lite Software.
Can I undo the install?
The installed system can be removed, but anything erased from the disk during installation is gone. That is why the backup step comes first.
Conclusion
Installing Linux Lite is a short job: verify the ISO, write it to a USB stick, try the live session, run the installer, and finish the first boot. The two steps that matter most are the ones people skip — backing up first, and testing the hardware in the live session before touching the disk.
Do those, read the disk screen carefully, and the install takes twenty minutes. Your old PC gets a fast, modern system, and you get a computer that is ready to use the moment it boots.